What happens in your crawl space doesn’t stay in your crawl space. This often-neglected area under your home is a major source of air that circulates into your living spaces. If your crawl space is damp, musty, and humid, it can lead to mold growth, wood rot, pest infestations, and poor indoor air quality for your entire home.
Many homeowners notice a musty smell or feel damp floors but don’t know how to solve the underlying problem. While there are many “quick fixes,” only a few professional solutions provide a permanent, effective barrier against crawl space moisture. Here are the fixes that actually work.
Why Crawl Space Moisture Is Such a Long Island Problem
Crawl space foundations are common in Capes, cottages, and older colonials across Nassau and Suffolk counties — and local conditions work against them. South Shore neighborhoods often sit on a high water table, coastal summers keep outdoor humidity elevated for months, and vented crawl spaces pull that damp air in where it condenses on cool framing and ductwork. In winter, the same vented spaces leave floors cold and plumbing exposed to freezing. That combination is why a “little dampness” under a Long Island home so often becomes mold, rot, or a flooding problem over time.
1. Crawl Space Encapsulation (Vapor Barrier)
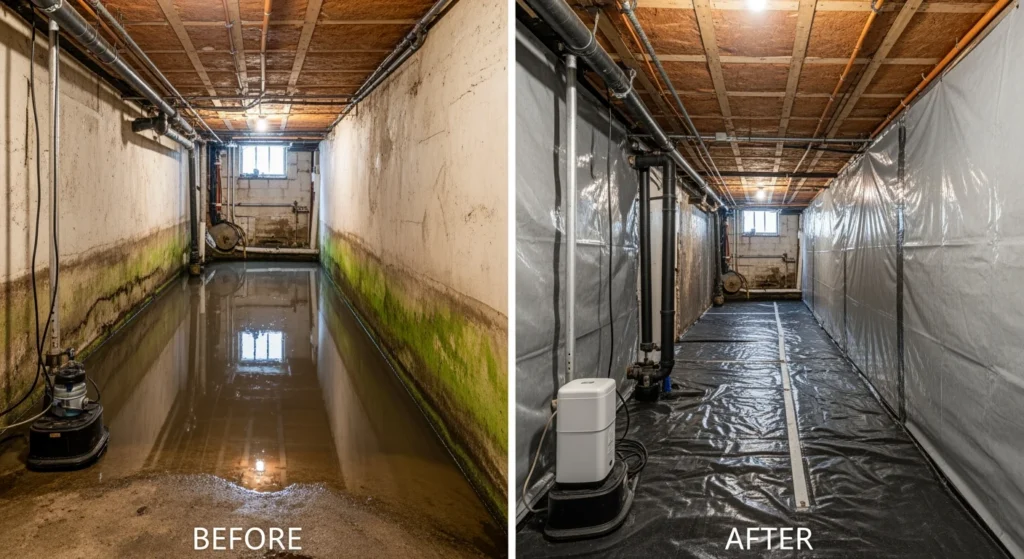
This is the gold standard for controlling crawl space moisture. Encapsulation involves completely sealing the crawl space from the earth and outside air with a heavy-duty vapor barrier.
- How it works: A thick, durable liner (typically 12–20 mil polyethylene) is laid across the crawl space floor, up the foundation walls, and around any support piers. The seams are overlapped and sealed with waterproof tape. This process isolates the crawl space, preventing moisture from the ground from evaporating into the space.
- Why it works: It stops moisture at its largest source — the damp earth. A properly encapsulated crawl space transforms from a damp, dirty area into a clean, dry, usable space that protects your home’s structural integrity and improves air quality.
2. Improve Drainage (Interior and Exterior)
Water should never be able to pool in or around your crawl space. If encapsulation is step one, ensuring proper drainage is step 1A.
- Exterior: Ensure your gutters are clean and downspouts direct water at least 10 feet away from the foundation. The ground around your home should be graded to slope away from the foundation. If your roof or gutters are leaking, fix those first — they feed the problem from above.
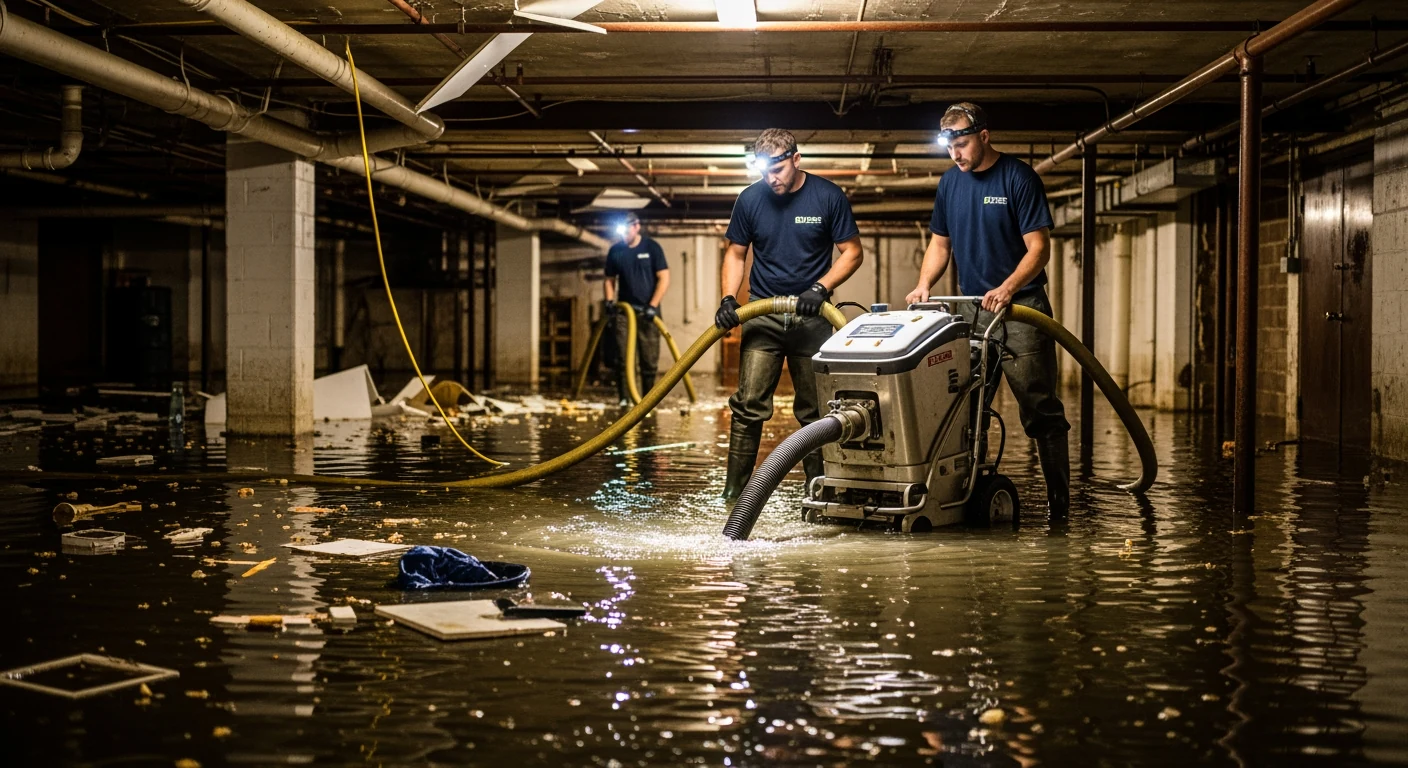
- Interior: For crawl spaces with significant water intrusion, an interior drainage system may be necessary: a perforated pipe around the perimeter collects water and channels it to a sump pump, which automatically discharges it away from the home.
- Why it works: Drainage solutions address liquid water, while encapsulation addresses water vapor. Together, they form a comprehensive water management system.
3. Install a Dehumidifier
After the crawl space is sealed and drainage issues are fixed, the final step is to control the humidity of the air itself. A standard household dehumidifier isn’t built for the task.
- How it works: A professional-grade crawl space dehumidifier is installed in the encapsulated space. These units are powerful, efficient, and designed to operate in the cooler temperatures found in crawl spaces. They monitor relative humidity automatically and maintain a set level (typically 50% or lower), draining automatically so there’s no basin to empty.
- Why it works: It removes any remaining ambient moisture from the air, creating an environment where mold cannot grow and wood stays dry. The air pulled into your home from the crawl space stays clean and healthy.
A System for a Healthy Home
These three solutions — encapsulation, drainage, and dehumidification — work together as a system to permanently solve crawl space moisture problems. By taking control of this space, you protect your investment, improve your home’s energy efficiency, and create a healthier living environment for your family.
If mold has already taken hold under your home, remediation should come before encapsulation — sealing mold into a crawl space doesn’t fix it. Our guide to crawl space mold causes, removal, and encapsulation costs covers what that process looks like.
Frequently Asked Questions
How do I know if my crawl space has a moisture problem?
Common signs include musty odors in the living space above, cupping or buckling hardwood floors, condensation on ducts and pipes, visible mold on floor joists, and standing water after rain.
Can I encapsulate a crawl space myself?
Laying loose plastic sheeting helps a little, but true encapsulation requires sealed seams, sealed piers, attachment up the foundation walls, and drainage corrections first. Most DIY liners fail at the seams within a few seasons.
What humidity level should a crawl space be?
Keep relative humidity at or below about 50–55%. Mold growth accelerates as humidity climbs above the 60–70% range, so a professional-grade dehumidifier set around 50% provides a comfortable safety margin.
Should crawl space vents be open or closed?
On Long Island, open vents in summer usually make moisture worse: humid outside air enters the cool crawl space and condenses on framing and ductwork. Modern best practice is sealing the space and controlling humidity mechanically.
If you’re dealing with a damp, musty crawl space anywhere in Nassau County, Suffolk County, or the five boroughs, contact Upper Restoration at (888) 720-8376 for a professional assessment. We can help you implement the right solutions to protect your home from the ground up.
Related Reading