Recovering from fire damage is a process with a defined sequence — the order matters as much as the actions themselves. Skipping steps or working out of order leads to missed insurance documentation, hidden hazards, and recurring smoke odors that come back months later. This guide walks through the 10 essential steps in the correct sequence, with timing benchmarks for each phase.
How Long Does Fire Damage Recovery Take?
Recovery timeline depends primarily on damage scope. As a general framework: emergency stabilization (Steps 1–4) should be complete within the first 24–72 hours; active restoration (Steps 5–8) typically runs 1–4 weeks for moderate damage; structural repairs and rebuild (Steps 9–10) can extend 4–12 weeks for significant structural involvement. Insurance claim timelines run parallel to all phases.
| Phase | Steps | Typical Timeframe |
|---|---|---|
| Emergency Response | 1–3 | First 24–72 hours |
| Active Mitigation | 4–6 | Days 2–14 |
| Restoration & Rebuild | 7–9 | Weeks 2–12 |
| Prevention & Closeout | 10 | Final stage before re-occupancy |
The 10 Essential Steps to Recovering After Fire Damage
Step 1: Ensure Immediate Safety Before Reentering
Do not reenter the property until the fire department has officially cleared it. Fire damage creates multiple hidden hazards: compromised load-bearing structures, live electrical circuits (even with the power “off”), toxic combustion byproducts in surfaces and air, and weakened flooring that can fail under weight. In NYC, FDNY posts a placard system — a red “UNSAFE” or yellow “RESTRICTED USE” placard means re-entry is prohibited or limited to specific areas only. Long Island municipalities follow similar protocols through their building departments. Violating a posted placard creates both safety risk and insurance complications.
Step 2: Call Your Insurance Company Within 24 Hours
Most homeowner policies require prompt notification of a loss — typically within 24–72 hours. Call your insurer before starting any cleanup beyond emergency stabilization. Ask them to assign an adjuster and get a claim number immediately. Key questions to ask: Does your policy include Additional Living Expenses (ALE) coverage for temporary housing? What is your debris removal limit? Does your policy cover replacement cost value or actual cash value for contents? Documenting your call with name, date, time, and claim number protects you if disputes arise later.
Step 3: Document Everything Before Touching Anything
Before any cleaning or removal begins, photograph and video every affected area in detail. Capture wide shots showing overall room damage, then close-ups of individual items, structural damage, and soot patterns. Create a written inventory of damaged or destroyed contents with estimated replacement values. This documentation is the foundation of your insurance claim — gaps in documentation are the most common reason claims are underpaid. A professional restoration company can assist with creating a room-by-room inventory and can often provide documentation that meets adjuster requirements directly.
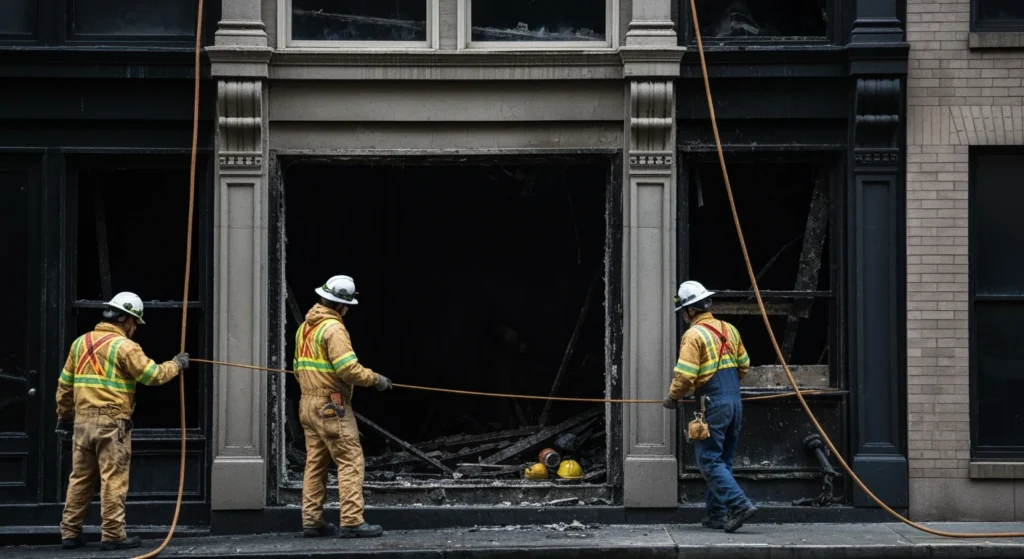
Step 4: Secure and Board Up the Property
Fire-damaged properties are both structurally vulnerable and targets for theft. Board up broken windows and doors, cover roof openings with tarps to prevent water intrusion, and install temporary fencing if the structure has significant exterior damage. In NYC, failing to secure a fire-damaged property can result in a DOB (Department of Buildings) violation and potential fines. Emergency board-up is typically covered under your insurance policy as a mitigation expense — document all costs. Upper Restoration provides 24/7 emergency board-up and tarping services across NYC and Long Island.
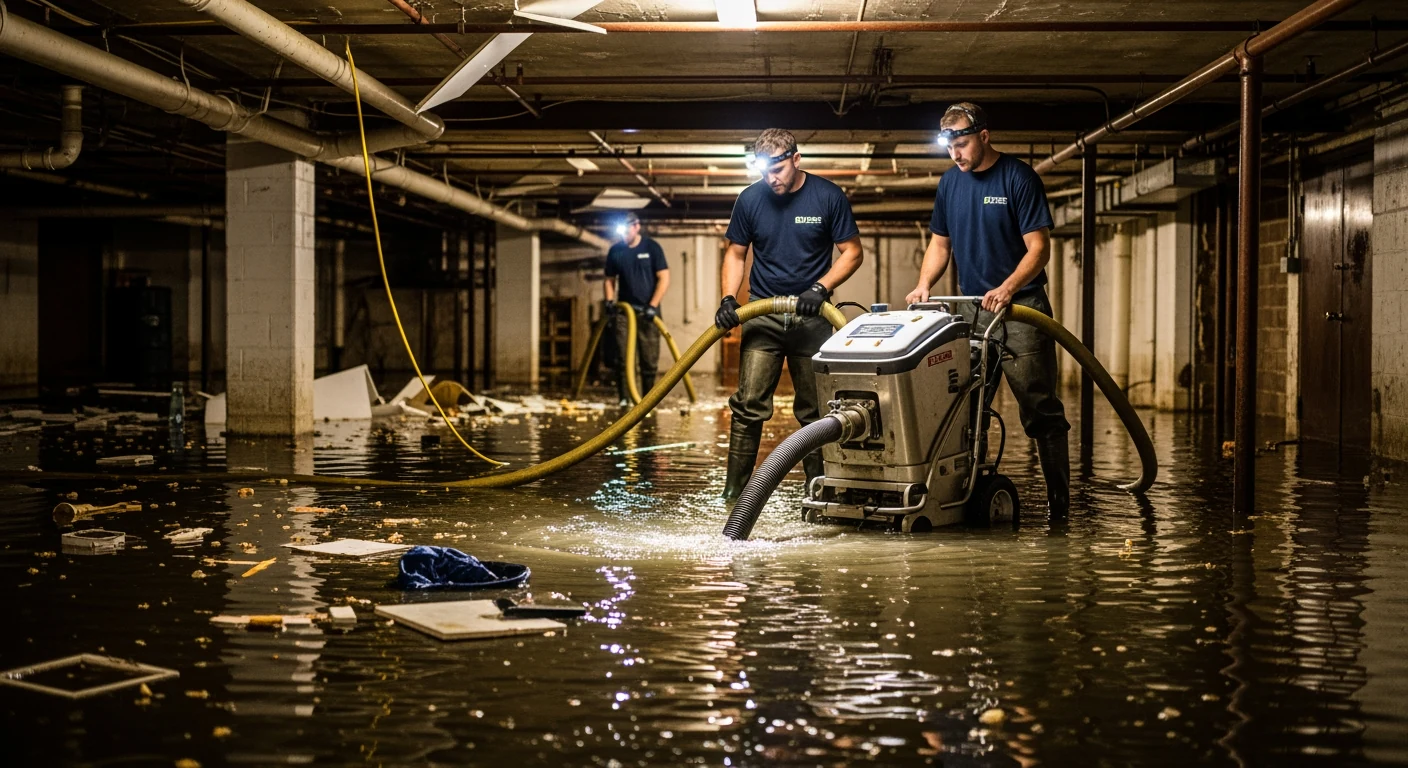
Step 5: Remove Standing Water from Firefighting Operations
This step surprises many homeowners: water damage from firefighting hoses is often as extensive as fire damage itself. Thousands of gallons of water are used to suppress a structural fire, and that water saturates floors, walls, and structural framing within hours. If not extracted within 24–48 hours, secondary mold growth begins — most commonly in subfloor systems, wall cavities, and insulation. Professional water extraction using truck-mounted systems, combined with industrial dehumidifiers and air movers, is the standard approach. This step must precede any structural assessment or soot removal.
Step 6: Remove Soot and Smoke Residue
Soot is chemically aggressive — it continues to etch and corrode surfaces for weeks if not removed. Different surfaces require different cleaning protocols: dry chemical sponges for flat painted surfaces, wet cleaning for washable surfaces, and ultrasonic cleaning for electronics and delicate items. The critical rule: do not use a standard vacuum on soot, as this drives particles deeper into surfaces and spreads contamination. HEPA-rated equipment only. Smoke residue also migrates into HVAC ductwork; duct cleaning is a required step, not optional, or smoke odor will recirculate throughout the building after restoration.
Step 7: Odor Neutralization and Deodorization
Smoke odor is one of the most persistent challenges in fire restoration. It penetrates porous materials — drywall, insulation, wood framing, fabric — at a molecular level. Three primary technologies are used depending on penetration depth: thermal fogging (penetrates the same porous pathways smoke traveled), ozone treatment (oxidizes odor-causing molecules at high concentration), and hydroxyl generation (safer for occupied or partially occupied spaces). In most cases, a combination approach is required. Covering smoke odor with air fresheners or paint without deodorizing the substrate is the most common DIY mistake — odor returns within weeks as temperature and humidity change.
Step 8: Content Restoration and Pack-Out
Not all contents need to be discarded. Professional content restoration can recover items damaged by smoke and soot — furniture, clothing, documents, electronics, artwork — using ultrasonic cleaning, ozone chambers, and specialized cleaning protocols. A pack-out service inventories, transports, and stores your contents in a climate-controlled facility during structural restoration, then returns them after completion. This process is typically covered by your insurance policy and should be initiated early to prevent further deterioration from ongoing soot exposure. Upper Restoration provides full content pack-out and restoration services.
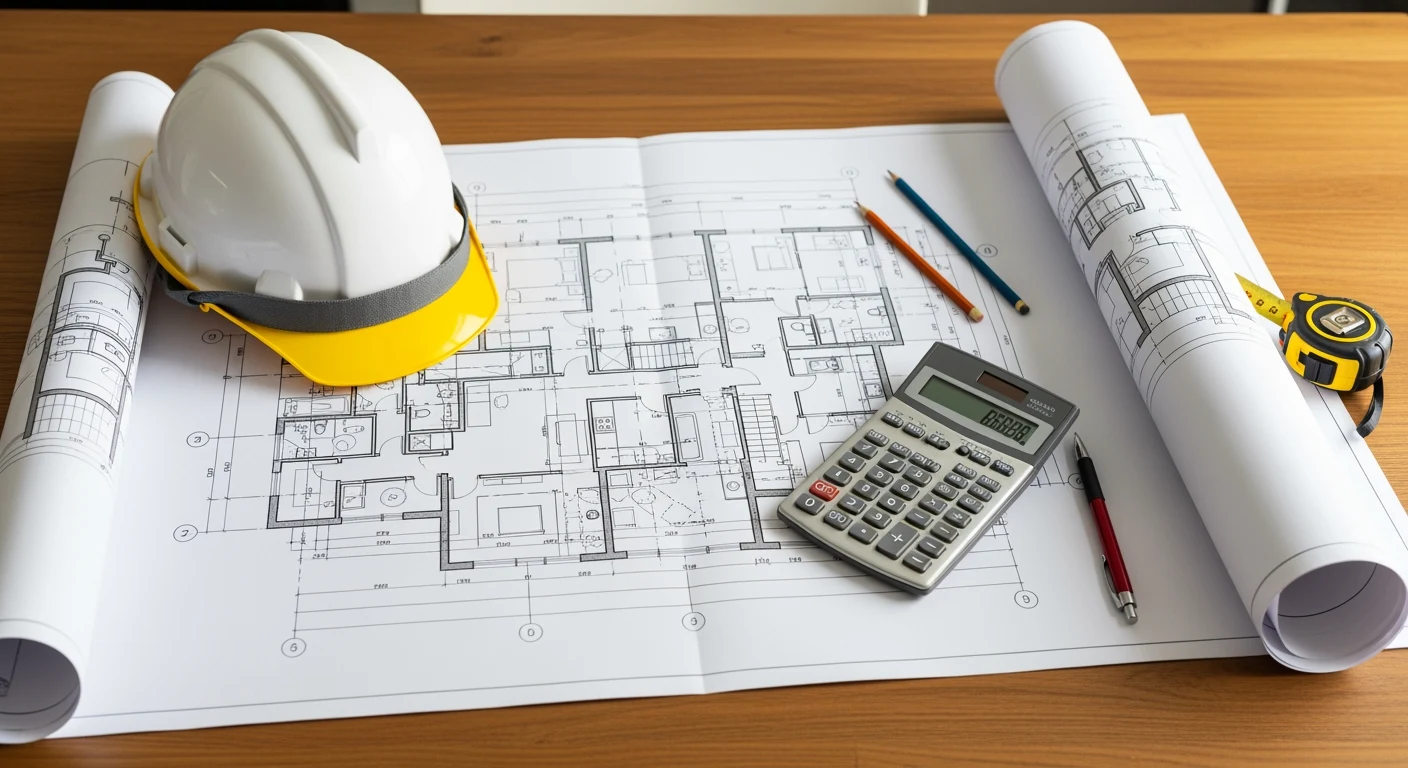
Step 9: Structural Assessment and Rebuild
Once the property is dry, soot-free, and deodorized, a licensed structural engineer should assess framing, load-bearing elements, and any systems affected by fire or suppression water. In NYC, any structural repair requiring a permit must be filed with the DOB and inspected before walls are closed. Long Island municipalities similarly require permits for structural work above a certain cost threshold — typically $25,000. Upper Restoration works with licensed engineers and can manage the permit filing process as part of the restoration project, preventing the delays that occur when permits are pulled mid-project.
Step 10: Fire Prevention Assessment Before Re-Occupancy
The rebuild phase is the ideal time to address the conditions that contributed to the original fire and to upgrade prevention systems. A licensed electrician should inspect and certify all electrical systems — electrical fires are the leading cause of residential fire losses in NYC. Smoke detectors and CO detectors should be replaced (most are rated for 10 years and many NYC homes have outdated units). If your property uses natural gas, a gas line pressure test post-repair is standard. In NYC, Local Law 78 requirements for sprinkler systems in certain building types may apply to your rebuild — confirm with your DOB filing representative.
Fire Damage Recovery in NYC and Long Island: Key Differences
NYC fire damage restoration involves specific regulatory layers that Long Island homeowners don’t face: NYC DOB permit requirements for virtually all structural work, FDNY clearance protocols, and co-op or condo board approvals in multi-family buildings that can add weeks to project timelines. In NYC co-ops particularly, the proprietary lease typically requires board notification within 24–48 hours of any casualty loss — a step many owners miss. Long Island homeowners face fewer bureaucratic layers but should confirm that their contractor holds proper Nassau or Suffolk County licensing, as local licensing requirements differ from NYC.
For more on the restoration process, see our detailed guide to the 7 steps in fire damage restoration. For smoke-specific damage guidance, see our smoke damage repair overview. For insurance coordination questions, see how insurance companies work with restoration contractors.
Upper Restoration provides professional fire and smoke damage restoration services across Nassau County, Suffolk County, and all five NYC boroughs — available 24/7.
If you want to understand what the restoration contractor is doing on their end while you’re managing these steps, see our contractor-focused guide: The 7 Steps of Fire Damage Restoration — covering the professional process from emergency assessment through final clearance.
Frequently Asked Questions About Fire Damage Recovery
How quickly do I need to start fire damage restoration?
Emergency response — safety assessment, documentation, and board-up — should begin within 24 hours. Water extraction from firefighting operations must begin within 24–48 hours to prevent mold. Delaying beyond 48–72 hours significantly increases total restoration costs and can complicate insurance claims.
Does homeowners insurance cover all 10 steps?
Standard HO-3 homeowner policies cover fire damage to structure and contents at either replacement cost or actual cash value, depending on your policy. Emergency mitigation (board-up, water extraction) is covered as a mitigation expense. Content pack-out and restoration is typically covered. What’s often excluded or capped: debris removal above policy limits, code upgrade costs (bringing electrical or structural systems up to current code), and temporary housing beyond the ALE limit.
Can I stay in my home during fire damage restoration?
In most cases involving significant fire damage, temporary relocation is required during at minimum the soot removal and odor treatment phases. Ozone treatment in particular requires complete evacuation including pets. Your Additional Living Expenses (ALE) coverage pays for temporary housing, meals, and related costs during displacement — activate this coverage early.
What items can be restored vs. replaced after fire damage?
Hard non-porous items (metal, glass, ceramics) are highly restorable. Soft porous items (upholstered furniture, mattresses, carpets) are typically replaced unless lightly affected. Electronics can often be restored via ultrasonic cleaning if addressed quickly. Documents and photographs can be freeze-dried and restored by specialists. The determining factor is usually the degree of soot penetration and moisture exposure duration.
What is the biggest mistake homeowners make after a fire?
Starting cleanup before documenting and before calling insurance. The second biggest: using consumer products (bleach, Febreze, standard vacuums) on soot-damaged surfaces, which spreads contamination and complicates professional restoration. Third: discarding items before an adjuster has seen them — discarding items before adjuster sign-off can result in claim denial for those items.