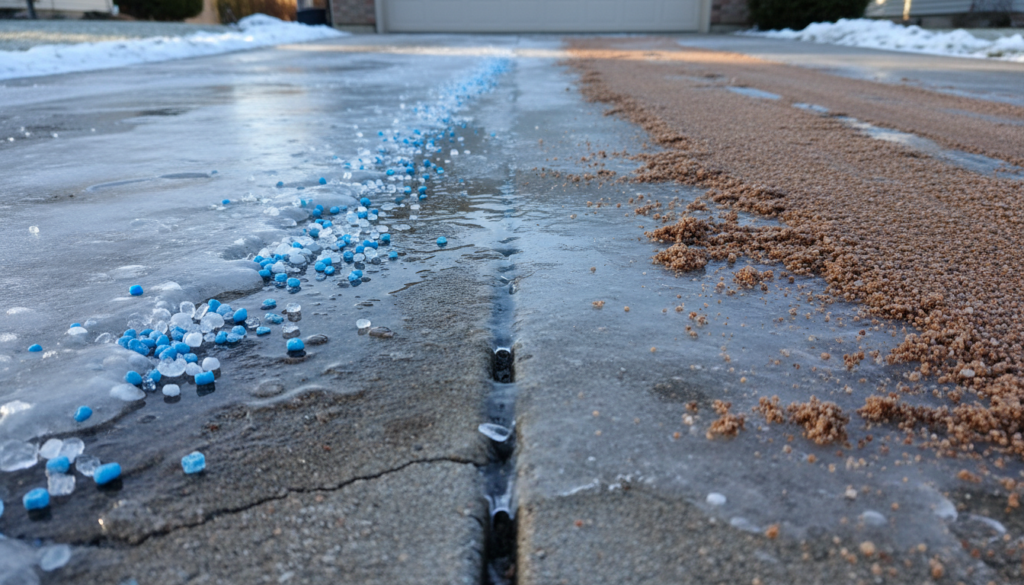
When an ice storm leaves your driveway and walkways a treacherous, slick mess, your first priority is safety. A slip-and-fall accident on your property is a serious liability risk. The two most common tools for this fight are ice melt (salt) and sand.
But what’s the difference? And which one is the right choice to protect your property and the people who use it? The answer is that ice melt vs. sand isn’t a simple “either/or” question—they do two completely different jobs.
How They Work: Melting vs. Traction
Ice Melt (Salt, Calcium Chloride, etc.)
- What it does: Ice melt is a de-icer. It works through a chemical reaction that lowers the freezing point of water. It actively melts existing ice and snow and prevents new ice from bonding to the pavement.
- Pros:
- Actually removes the ice and snow, clearing the pavement.
- Provides long-lasting protection.
- Very effective at preventing a hard ice pack from forming.
- Cons:
- Can damage concrete, asphalt, and stone, especially if over-applied.
- Corrosive to metal (cars, railings).
- Harmful to plants, lawns, and pets’ paws.
- Stops working at very low temperatures (standard rock salt is ineffective below 15°F).
Sand
- What it does: Sand is an anti-slip agent. It does not melt ice. It is an abrasive material that sits on top of the ice to provide grip and traction for shoes and tires.
- Pros:
- Works at any temperature (it’s just a physical material).
- Provides immediate traction on slick surfaces.
- Not-corrosive and safe for all surfaces (concrete, wood decks).
- Pet-safe and plant-safe.
- Very inexpensive.
- Cons:
- Does not remove the underlying ice hazard.
- Can be messy, getting tracked indoors and clogging gutters and drains when the ice melts.
- Can be washed or blown away, requiring re-application.
The Verdict: Use Both (But in the Right Order)
For the best protection against both slips (liability) and ice (damage), use a strategic combination of both products.
Step 1: Shovel First. Always remove as much snow and slush as you can before applying any product.
Step 2: Apply Ice Melt to De-Ice. Apply a light, even layer of ice melt first to begin the melting process. This breaks the bond between the ice and the pavement. Choose the right product for the temperature:
- Rock Salt (Sodium Chloride): Good for 15°F and up.
- Calcium Chloride: More expensive, but works down to -25°F and is less harmful to concrete.
Step 3: Apply Sand for Instant Traction. While the ice melt is working (which can take time), apply a layer of sand over the top. This gives you immediate slip-and-fall prevention while the de-icer does its chemical work underneath.
The Runoff Problem: Preventing Water Damage
Whether you use ice melt or just let the sun do the work, all that melted ice and snow has to go somewhere. If your property isn’t prepared, that “runoff” can lead to a major water damage problem.
- Check Your Gutters: Ensure your gutters are clear of leaves and debris so melting roof snow can drain away from your home.
- Clear Drains: Shovel snow away from storm drains and downspouts.
- Check Your Foundation: Look for any low spots near your foundation where water can pool and leak into your basement or crawl space.
Properly managing ice on your walkways is a key part of property liability and safety. But don’t forget that the melted ice is water, and that water can be just as damaging as the ice itself. If you find that snowmelt has led to a leak or flood in your basement, call a water damage restoration professional immediately.