How to Prevent Mold After Water Damage: Step-by-Step Prevention Guide
The 72-hour window after water damage is critical. Within this narrow timeframe, you can take specific actions to prevent mold after water damage—or you can watch helplessly as mold colonies begin establishing themselves in your damp walls and floors. The difference between a manageable water damage event and a mold disaster often comes down to what happens in those first three days.
According to IICRC standards, mold growth can begin within 24-48 hours of water exposure in ideal conditions. But this doesn’t mean mold is inevitable. Understanding the prevention process, what equipment you need, and when to call professionals transforms you from a passive victim into an active preventer of secondary mold damage.
This guide provides actionable steps to prevent mold after water damage, from immediate first actions through complete drying and verification.
The Critical 72-Hour Window
Why is 72 hours so important?
- Mold germination timeline: Mold spores (present everywhere) begin germinating within 24-48 hours in damp conditions
- Optimal growth conditions: Moisture + warmth + darkness create perfect mold breeding grounds
- Water saturation depth: In the first 72 hours, water is still actively soaking into porous materials
- Structural damage acceleration: Each day water sits, structural damage accelerates
- Professional response window: Professional water removal within 24-48 hours dramatically reduces mold risk
The key insight: Acting within 72 hours separates manageable restoration from catastrophic mold remediation.
Immediate Actions (First 24 Hours)
Step 1: Stop the Water Source
Timeline: Immediately (0-15 minutes)
If water is still flowing:
- For burst pipes: Shut off main water valve (locate it before emergency occurs)
- For toilet overflows: Turn off toilet water valve (behind toilet) or main water valve
- For roof leaks: Stop rain entry (move items out of drip path; temporary tarping if safe)
- For appliance leaks: Unplug the appliance; locate and close water inlet shut-off valve
Do NOT delay this step. Continuing water flow dramatically increases water volume and mold risk.
Step 2: Remove Standing Water
Timeline: Within first 6 hours
For small amounts (< 50 gallons, limited area):
- Use wet/dry vacuum (home improvement store rental, $20-30/day)
- Manual water removal: buckets, mop and bucket (labor-intensive but works)
- Towel absorption for minor puddles
For moderate amounts (50-500 gallons, multiple rooms):
- Call professional restoration company for water extraction (they have industrial-grade pumps)
- Water removal should happen within 12-24 hours
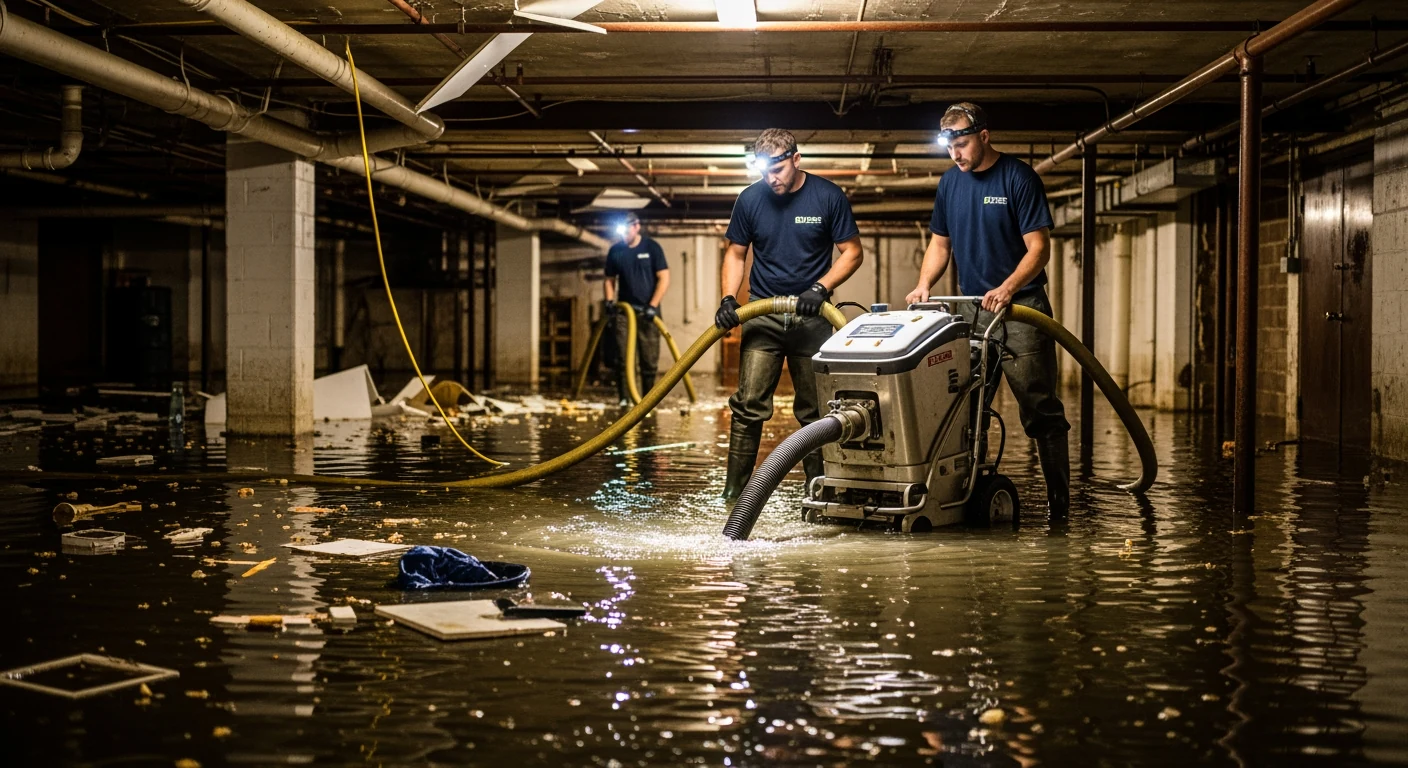
For severe flooding (>500 gallons):
- Call professional emergency restoration immediately. Do not delay.
- They arrive with industrial extraction equipment that removes water far faster than DIY approaches
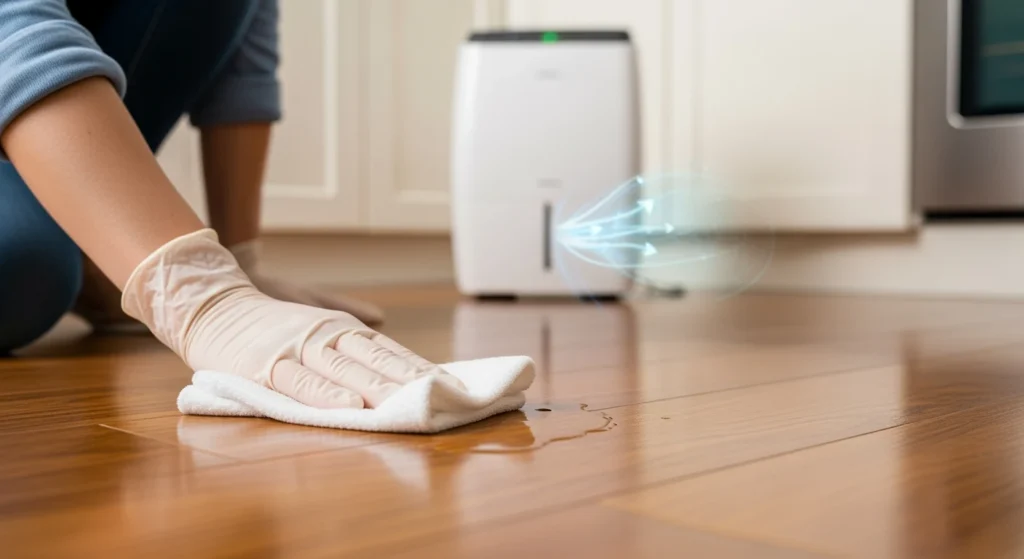
Step 3: Establish Ventilation and Air Movement
Timeline: Within first 12 hours
Moving air through wet areas accelerates drying and prevents stagnant moisture conditions where mold thrives:
- Open all windows and doors (assuming safe outdoor conditions; don’t do this in rain)
- Set up box fans pointing OUT of windows to exhaust moist indoor air outdoors
- Create cross-ventilation: Open windows on opposite sides of room/home to create air flow
- Turn on exhaust fans: Bathroom and kitchen exhaust fans help remove moisture
- Avoid air conditioning during initial drying: AC cycles air but doesn’t expel moisture outdoors; turn on heating instead to warm air (warm air holds more moisture, allowing faster removal through ventilation)
Why this matters: Moisture trapped in stagnant indoor air creates mold-friendly conditions. Moving air both removes moisture and prevents stagnant pockets.
Step 4: Remove Wet Porous Materials
Timeline: Within first 24 hours
Porous materials (carpet, insulation, drywall) trap water deep in their structure where it can’t be dried with air alone. When water saturation is extensive, removing these materials is often faster and prevents mold than attempting to dry them:
- Carpet: Remove water-saturated carpet and padding; air out remaining materials
- Drywall: If significantly wet (water damage above 3 feet up wall), cut out and remove damaged drywall sections
- Insulation: Remove wet insulation (cannot be effectively dried in place; will support mold growth)
- Wall cavities: If water has entered wall cavities, open walls (cut drywall) to expose interior for drying
When this is necessary: If water has been present 12+ hours or saturation is visible in materials, removal is usually preferable to attempting drying.
Active Drying Phase (Days 2-7)
Step 5: Deploy Drying Equipment
Timeline: Day 1-7
Essential equipment for mold prevention:
Dehumidifiers (critical):
- Purpose: Remove moisture from indoor air, forcing moisture to evaporate from wet materials
- Types: Refrigerant dehumidifiers (standard home types), desiccant dehumidifiers (more effective in cold)
- Capacity needed: 30-50 pints/day for typical residential water damage
- Placement: Position in center of affected area; empty water collection regularly (or run drain line outdoors)
- Cost: Rental ~$25-50/day; purchase $150-400
Air movers (fans):
- Purpose: Increase air circulation over wet surfaces; accelerates evaporation
- Types: Box fans (home/rental), professional air movers (more powerful)
- Placement: Direct air flow across wet surfaces; angle fans to avoid direct person-facing (can be uncomfortable 24/7)
- Quantity: 2-4 fans for typical single-room water damage
- Cost: Rental ~$5-15/day; purchase $30-100
Humidifier alternative—DO NOT USE: Some homeowners think humidifiers help; they actually worsen the situation by adding moisture to already-humid air.
Step 6: Monitor Humidity and Moisture Levels
Timeline: Daily during active drying (Days 1-7)
Tracking humidity and material moisture tells you if drying is progressing:
Humidity target: Below 50% indoor relative humidity; ideally 30-40%
How to measure:
- Digital humidity meter (~$15-30): Inexpensive way to track indoor humidity
- Check daily; record readings
- If humidity stays above 50% after 3 days of equipment operation, you need additional dehumidification
Moisture meters: Professional-grade moisture meters measure actual moisture content in materials (wood, drywall)
- Cost: $50-300 (home-grade models available, though professional models are more accurate)
- Purpose: Verify that wet materials are actually drying (not just air-drying on surface)
- Target: Wood should reach 12-15% moisture content; drywall 12-18%
Step 7: Address Cleaning and Disinfection
Timeline: Days 2-3 (after bulk water removal)
Water-exposed surfaces need cleaning to prevent mold establishment:
- Wipe all hard surfaces: Use white vinegar or dilute bleach solution (1:10 bleach:water)
- Ventilate during cleaning: Bleach fumes are hazardous; ensure strong ventilation
- Focus on porous materials: Carpet, upholstered furniture, mattresses in contact with water should be discarded or professionally cleaned
- HVAC inspection: If water reached HVAC system, have professional clean air ducts and replace filters
Common Mistakes in Mold Prevention (What NOT to Do)
Mistake 1: Leaving Wet Materials in Place
Why it fails: Porous materials like carpet, drywall, and insulation hold water for days even with active air drying. Mold colonies establish in these materials before they’re dry.
Solution: Remove saturated porous materials within first 24 hours; dry only structural elements that can be reasonably dried.
Mistake 2: Insufficient Dehumidification
Why it fails: One small household dehumidifier can’t handle whole-house water damage. Humidity remains elevated; mold conditions persist.
Solution: Rent industrial-capacity dehumidifiers (30-50 pints/day); monitor humidity daily; add equipment if humidity doesn’t decrease.
Mistake 3: Closing Up Without Complete Drying
Why it fails: Homeowners sometimes assume “drying is taking too long” and close windows, thinking they’re “sealing in heat.” This traps moisture indoors and creates mold conditions.
Solution: Keep ventilation and drying equipment operating continuously for 5-7 days minimum; don’t close up until humidity is below 50% and materials feel completely dry.
Mistake 4: Using Regular HVAC AC Instead of Heat
Why it fails: Air conditioning cycles indoor air but doesn’t remove moisture from your home; it can actually re-condense moisture on cooler surfaces, worsening conditions.
Solution: Run heating during active drying phase (warm air holds more moisture, allowing evaporation through ventilation). Resume AC only after drying is complete.
Mistake 5: No Professional Verification
Why it fails: Homeowners assume “looks dry” means “is dry.” Internal moisture remains in cavities, subflooring, and structural materials even when surfaces appear dry.
Solution: Have professional moisture testing verify that all materials actually reach target moisture levels before closing walls or considering drying complete.
When DIY Prevention Works vs When You Need Professionals
DIY Mold Prevention Works When:
- Water volume is small: < 50 gallons, limited to single room
- Water is clean (Category 1): From sanitary sources only
- You have drying equipment available: Dehumidifier, fans, proper ventilation
- You can act immediately: Water removal within first 12 hours
- Affected materials are limited: Hard surfaces only; carpet/drywall not involved
- You can maintain equipment 24/7 for 5-7 days: Continuous operation is essential
You Need Professionals When:
- Water volume exceeds 50 gallons
- Water is contaminated (Category 2 or 3)
- Water has entered walls or cavities
- Extensive porous materials are saturated
- You cannot respond within first 12 hours
- You don’t have adequate drying equipment
- Humidity remains above 50% after 3 days of equipment operation
- Any visible mold has already appeared
Professional Prevention Advantage
When professionals conduct water damage restoration, they prevent mold through:
- Industrial-capacity equipment: Dehumidifiers removing 100+ pints/day vs. household 30-50 pints/day
- Proper material removal strategy: Professional assessment determines what should be removed vs. dried
- 24/7 equipment operation: Drying continues around-the-clock, not just business hours
- Advanced monitoring: Moisture mapping and daily readings optimize equipment placement
- Professional verification: Moisture testing confirms drying targets are reached before completion
- IICRC compliance: Following industry standards ensures proper mold prevention protocols
Frequently Asked Questions
How long after water damage does mold start growing?
Mold can begin germinating within 24-48 hours in ideal conditions (moisture, warmth, darkness). However, visible mold colonies typically take 3-12 days to become apparent. This is why the 72-hour window is so critical.
Can I prevent mold by using bleach on everything?
Bleach kills surface mold but doesn’t address the underlying moisture problem. Mold will return if moisture remains. Drying (removing moisture) is the permanent solution; bleach is temporary surface treatment.
What humidity level prevents mold growth?
Below 50% relative humidity makes mold growth unlikely. Ideally, maintain 30-40% humidity. Above 55% humidity, mold growth becomes increasingly likely.
Is it safe to run dehumidifiers continuously?
Yes, continuous operation is necessary during active drying. They operate safely 24/7. Empty water collection regularly (or run drain line outdoors to avoid filling buckets).
Can opening windows in humid weather prevent mold?
No; if outdoor air is humid, opening windows adds moisture indoors, worsening conditions. Open windows when outdoor air is drier than indoor (typically early morning or during dry weather).
Should I throw away wet drywall or try to dry it?
If drywall has been wet for 24+ hours or water has soaked through completely, removal is usually preferable. Attempting to dry saturated drywall often fails; mold grows inside before it’s dry. Professional assessment determines best approach.
Can I paint or seal wet areas to prevent mold?
No; sealing wet areas traps moisture and accelerates mold growth. Moisture must be removed first; painting/sealing comes only after complete drying is verified.
Conclusion: Prevention in the First 72 Hours is Critical
The difference between manageable water damage and catastrophic mold remediation is what you do in the first 72 hours. Understanding the steps to prevent mold after water damage—immediate water removal, proper ventilation, equipment deployment, and continuous monitoring—gives you the tools to prevent secondary mold disaster.
The critical insight: Prevention is about removing moisture completely and quickly, not about bleach, sealing, or other temporary measures. Speed and proper drying equipment are your best defenses.
For water damage beyond your ability to handle—large volumes, contaminated water, extensive material saturation—professional intervention within the first 24 hours prevents mold far more effectively than DIY attempts.
Upper Restoration provides emergency water damage response and mold prevention services throughout Long Island, all five boroughs of NYC, and the surrounding tri-state area. If water damage occurs in your home, calling within the first 12 hours dramatically increases your chances of preventing mold.
Our 24/7 emergency response team arrives immediately with industrial drying equipment and professional protocols to prevent mold establishment. We monitor and verify complete drying, ensuring your home is restored safely and mold-free.
Contact Upper Restoration now for emergency water damage response. Call today or visit upperrestoration.com to learn more about mold prevention and our emergency restoration services. Don’t wait—act within the critical 72-hour window.
About Upper Restoration
Upper Restoration is a full-service property restoration company serving New York City and Long Island. Licensed by the NYC Department of Labor for mold remediation and the NYC Department of Environmental Protection for asbestos abatement, Upper Restoration provides 24/7 emergency response for water damage, fire damage, mold contamination, asbestos hazards, and storm damage. Our IICRC-certified technicians serve all five NYC boroughs — Manhattan, Brooklyn, Queens, the Bronx, and Staten Island — as well as Nassau County and Suffolk County communities across Long Island.