When homeowners think about how to prevent pipes from freezing, their first thought is usually insulation. They wrap their pipes in foam sleeves and assume the job is done. But insulation is only half the battle.
Insulation is a passive defense—it slows the transfer of heat. It doesn’t stop heat loss. If a pipe is in the path of a constant, freezing cold draft, it will eventually freeze, insulation or not.
The true root-cause prevention is to stop the cold air from reaching the pipes in the first place. Here’s how to find and fix the drafts that lead to pipe freezing.
Where to Find the Most Dangerous Drafts
At-risk pipes are almost always located in unconditioned spaces like basements, crawl spaces, and attics. The drafts that freeze them typically come from gaps in your home’s “envelope” (the barrier between you and the outside).
Grab a flashlight and a can of expanding foam sealant or caulk and go on a mission to find these common culprits.
1. The Sill Plate (Where Foundation Meets House)
- What it is: The sill plate is the wooden plank that sits directly on top of your home’s concrete foundation. This joint between wood and concrete is a very common source of air leakage.
- Where to Look: In your basement or crawl space, inspect the very top of the foundation wall. You will often see light peeking through or feel a draft.
- How to Fix It: For small gaps, use a high-quality silicone or acrylic caulk. For larger gaps (up to 1 inch), use expanding foam sealant. This single fix will make a massive difference in your basement’s temperature.
2. The Rim Joist
- What it is: The rim joist is the “header” piece of wood that runs along the perimeter of your house, forming the “edge” of your floor. It’s located just above the sill plate.
- Where to Look: This area is often completely uninsulated. From your basement, look in the “cubbies” or spaces between the floor joists where they meet the exterior wall.
- How to Fix It: This is a perfect place for rigid foam board insulation. Cut pieces of foam board to fit snugly into each joist bay, and then use foam sealant to air-seal all four edges. This stops drafts and insulates at the same time.
3. Utility and Plumbing Penetrations
- What it is: These are the holes drilled through your foundation or exterior walls to allow pipes, wires, and vents to enter your home.
- Where to Look: Find your outdoor spigot, your main water line, your HVAC refrigerant lines, and your dryer vent. Now, find those same spots from the inside. The holes drilled for them are often much larger than the pipes themselves, leaving a significant gap.
- How to Fix It: This is the most direct threat to your plumbing. Use expanding foam sealant (for larger gaps) or fire-stop caulk (for flues/vents) to completely seal the space around the pipe or wire. This stops the cold outdoor air from blowing directly onto your indoor plumbing.
Simple Ways to “See” a Draft
On a cold, windy day, you can often just use your hand to feel for drafts. But if you want to be more precise, try one of these methods:
- The Incense Stick Test: Light an incense stick and hold it near a suspected leak. If the smoke wavers, blows horizontally, or gets “sucked” out, you’ve found a draft.
- The Flashlight Test: Have one person stand outside in the dark while you shine a bright flashlight at the sill plate, rim joist, and corners from the inside. Any light they see marks a gap that needs sealing.
Don’t Just Insulate—Air Seal
Wrapping a pipe is good, but it’s not enough. By spending an afternoon finding and fixing the air leaks in your basement or crawl space, you are tackling the root cause of why pipes freeze.
This air-sealing project will not only help prevent the disaster of a burst pipe, but it will also make your home more comfortable and lower your energy bills all winter long.
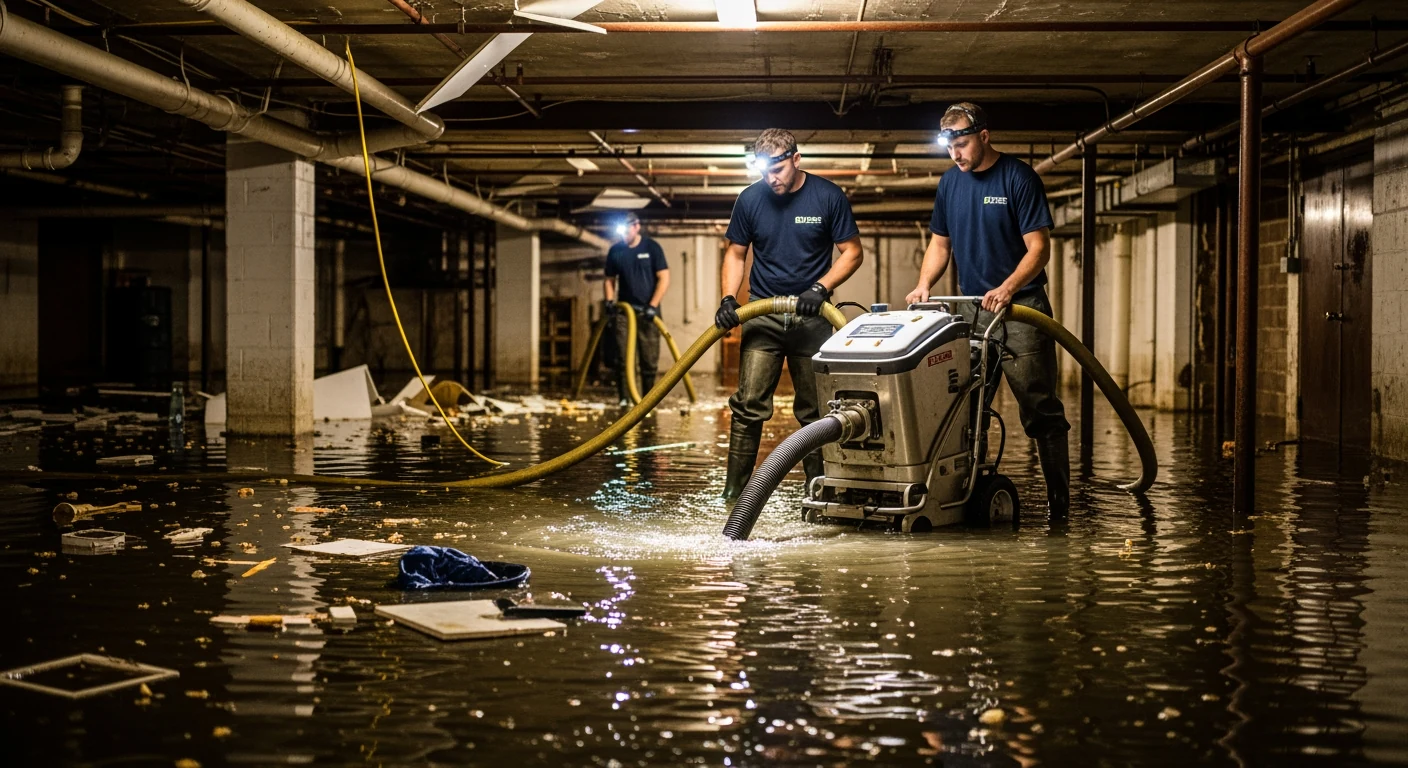
If you’ve already suffered a burst pipe due to a freezing draft, the first step is to shut off the water. The next step is to call a 24/7 water damage restoration team to safely dry your home and prevent mold.
See also: Home Maintenance Guide for Long Island