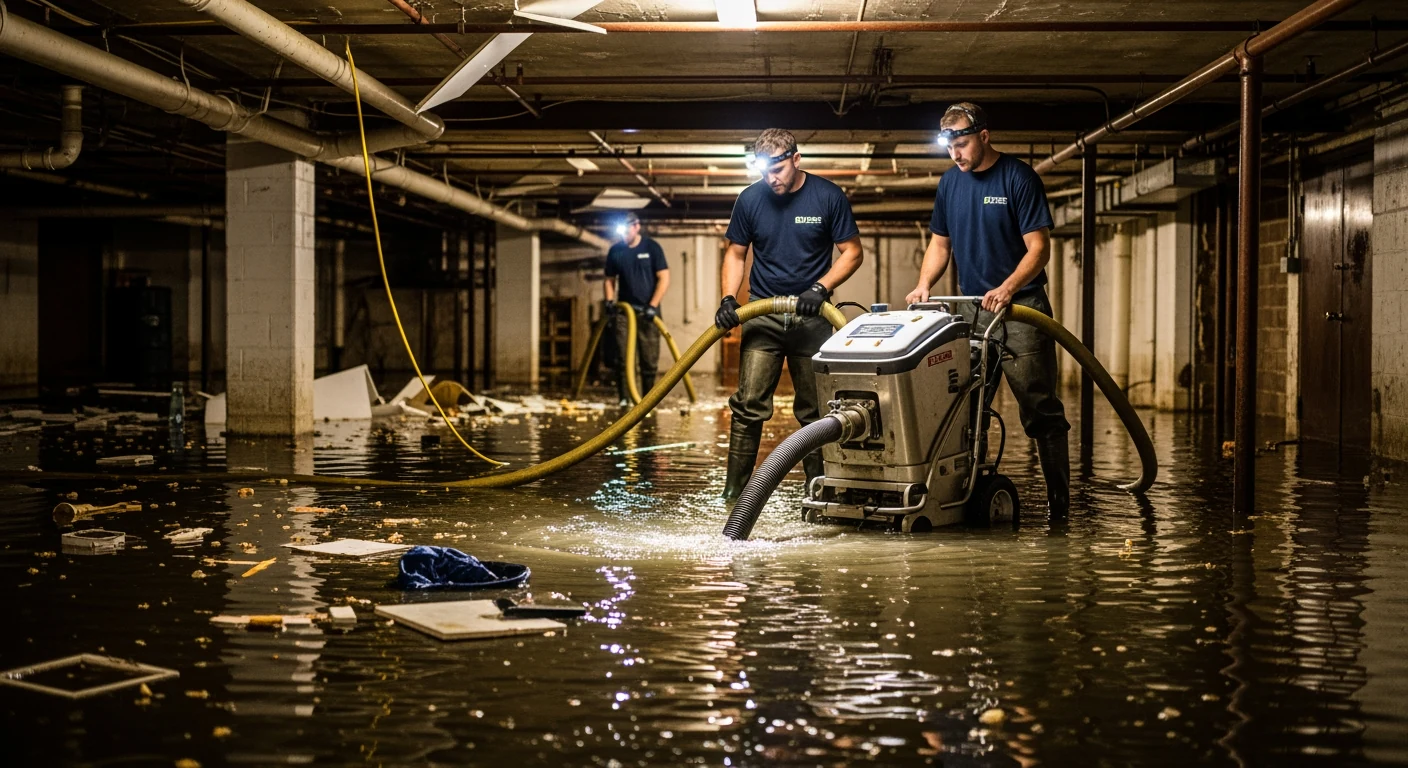
As winter approaches, one of the most important home maintenance tasks is to winterize your plumbing. A single frozen pipe that bursts can cause tens of thousands of dollars in water damage, leading to a massive cleanup and restoration process.
The good news is that you can complete most essential plumbing winterization tasks in a single weekend. This DIY guide will walk you through the key steps to protect your pipes and enjoy peace of mind all winter long.
Your Weekend Winterizing Plan
Set aside a few hours this weekend. Here is your checklist, starting with the easiest tasks and moving to the most important.
1. The 10-Minute Outdoor Task: Disconnect Hoses
This is the fastest and most critical step.
- Disconnect All Garden Hoses: Walk the perimeter of your home and disconnect every single garden hose from its spigot (hose bib).
- Why? If a hose is left attached, any water trapped inside it or the spigot can freeze, expand, and crack the spigot or the pipe it’s connected to inside your wall.
- Drain and Store: Drain the hoses completely and store them in a garage or shed.
2. The 30-Minute Outdoor Task: Drain Down Exterior Plumbing
- Shut Off Exterior Faucets: Most homes have indoor shut-off valves for each outdoor spigot. They are usually located in the basement or a crawl space, directly behind the spigot on the inside. Turn this valve to the “off” position (usually a clockwise turn).
- Drain the Pipe: Go back outside and turn the spigot “on” to drain all the remaining water from the pipe. Leave it open for the winter. This ensures the pipe is empty and cannot freeze. (Note: If you have newer “frost-free” spigots, this step may not be necessary, but it’s still a good practice).
- Sprinkler Systems: If you have an in-ground sprinkler system, you must “blow out” the lines using an air compressor to remove all water. If you’re not comfortable doing this, hire a professional irrigation company.
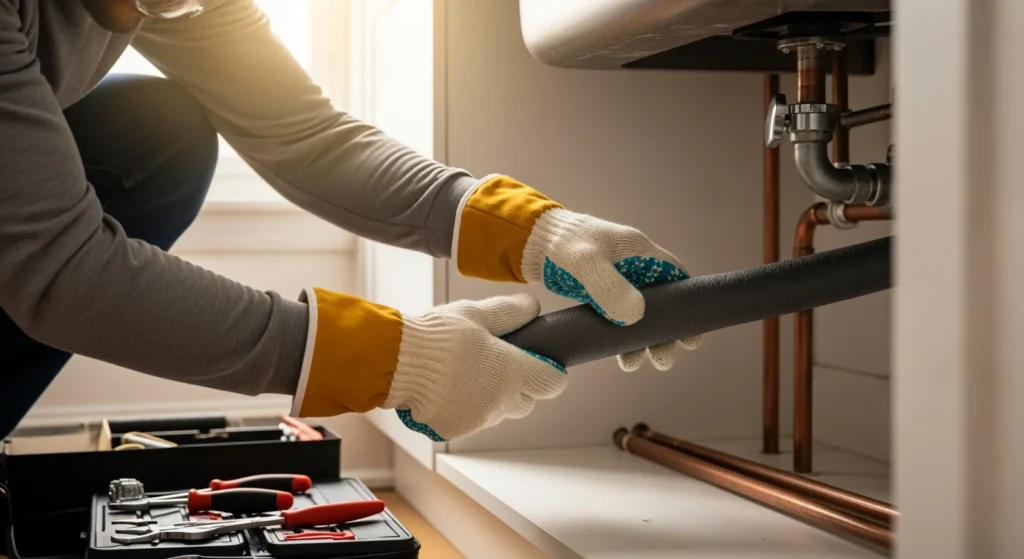
3. The 2-Hour Indoor Task: Find and Insulate Vulnerable Pipes
This is the most important part of your weekend project. You need to find and insulate all “at-risk” pipes.
- Where to Look: Grab a flashlight and inspect all unheated areas of your home. The most vulnerable pipes are:
- In crawl spaces and unheated basements.
- In attics.
- In garages, especially on exterior walls.
- In cabinets under sinks, especially those on an exterior wall.
- How to Insulate: Go to your local hardware store and buy pre-slit foam pipe insulation sleeves. This is the easiest and most cost-effective solution.
- Measure the diameter of your pipes (most are 1/2″ or 3/4″) and buy the correct size.
- Cut the foam sleeves to length with a utility knife.
- Wrap them around the pipes, remove the adhesive strip, and seal them tightly.
- Use duct tape or zip ties to secure the insulation at the joints and corners.
- For Extra Protection: For pipes in very cold areas, you can also use fiberglass insulation wrap or electric heat tape (see manufacturer’s instructions for safe installation).
4. The 1-Hour Indoor Task: Seal Air Leaks
Insulation won’t work if cold air is blowing directly on the pipe. While you’re in the basement or crawl space, look for drafts.
- Find Gaps: Look for gaps or cracks around the foundation, where utility lines (pipes, electrical, cable) enter the house.
- Seal Them: Use expanding foam sealant or caulk to fill these gaps. This not only protects your pipes but also lowers your heating bill.
What to Do During an Extreme Cold Snap
Even after winterizing, a sudden, deep freeze requires extra vigilance.
- Let it Drip: Open the faucets (hot and cold) on pipes you’re most worried about, letting them drip slowly and steadily. Moving water is much harder to freeze.
- Open Cabinets: Open the cabinet doors under your kitchen and bathroom sinks to allow the warm air from your home to circulate around the plumbing.
- Keep the Heat On: Never turn your thermostat off completely, even if you’re leaving for the weekend. Keep it set to at least 55°F (13°C).
A single weekend of work can save you from the headache and expense of a burst pipe and the resulting water damage. If the worst does happen and you find yourself with a water damage emergency, shut off your main water supply immediately and call a 24/7 restoration professional.
See also: Home Maintenance Guide for Long Island